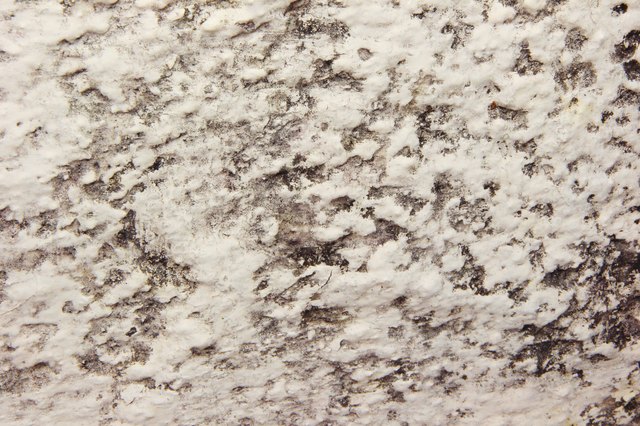
Improper preparation of the paint floor is a standard reason for hairline cracks and inter-coat peeling. Surface preparation might be time-consuming, nevertheless it enhances the general toughness of your paint job. The floor have to be clean and whilst any imperfections similar to holes and cracks is not going to let the paint adhere thoroughly to the underlying surface. Surface preparation could range counting on the kind of floor in addition to even if you're repainting or including a refreshing coat of paint. Also, exterior portray could not comply with the identical floor preparation procedures as inside painting. To restore peeling paint, start off by scraping the peeling paint off of the floor with a flat blade.
Next, fill any cracks or holes within the floor with quick-setting patching compound, let the compound dry, and sand the area. Then, apply a thin, even layer of primer over the floor and let it dry completely. Finally, repaint the repaired floor with two coats of latest paint and let it dry for a minimum of 24 hours earlier than touching or employing the space. To stop cracking of newly put in plywood, sand and prime with a latex primer. If cracking has already occurred and is severe, substitute the wood, because it isn't re-paintable. If the cracking is simply not extensive, get rid of all unfastened and peeling paint.

Clean the floor completely with a bleach-and-water solution. Damaged or tough surfaces could must be sanded to the recent wood. Seal all naked wooden with an oil/alkyd primer, observed by the specified topcoat. How To Fix Peeling Paint On A Ceiling In four Steps Scrape off peeling paint on the ceiling with a putty knife. Patch the peeling space with a skinny layer of patching compound and putty knife. Afterward, you will should sand the sides after which clear and prime the floor a twin of the way you manage peeling paint.
To repaint, it would be best to use the comb or curler thoroughly and never put paint software too heavy or too soft. Dampen the opening or crack with water - this may assist the filler to bond. Allow the filler to dry fully, then massage clear and mud off to create a clean, clear floor for decorating.

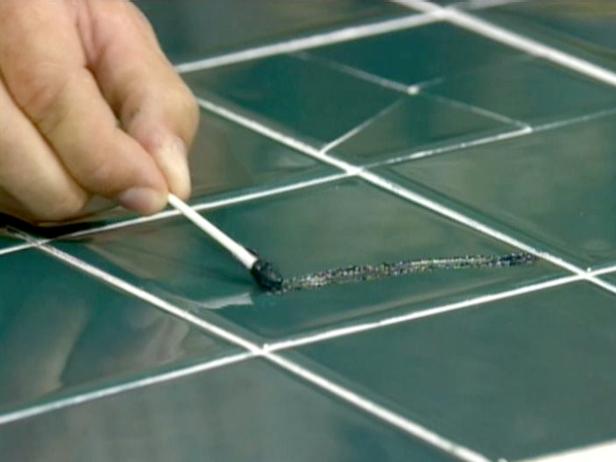
To ascertain even porosity spot prime with a thinned coat of your end earlier than portray the affected space . The preferable filler for ceiling cracks is both spackling compound or an additional plaster-repair compound. Spread the compound over the cracks with a 1-inch putty knife. Let it dry for 4 hours minimal after which sand it clean with 200-grit sandpaper.

For inside walls, do away with all mud and dirt and ensure the partitions are dry. Key alkyd/oil centered paint surfaces with sandpaper. For extra critical damage, like bigger cracks or holes, the method is a bit extra complicated. First use a paintbrush to do away with mud and unfastened plaster. Now combine 5 components of PVA glue with 1 portion of water to make a bonding compound and paint throughout the opening and a few of the encompassing wall. Now press your geared up combined plaster into the opening firmly applying a plastering knife, ensuring you don't use an excessive amount of at once.

Now fresh the plaster roughly degree and depart it to go off for spherical thirty minutes. Now fresh the plaster as flat as you will and depart to dry utterly earlier than sanding smooth. The ceiling is plaster, home is about ninety years old. I don't know why paint was peeling, I simply figured that they had accomplished a poor job of prepping or cleansing dirt earlier than they painted earlier than they bought the house. When I scraped off the peeling paint as soon as I began the job, there have been no indications of darkish spots or water injury from what I might see. I observed your steps and nonetheless have cracking paint as soon as it's dry.

The returned of a chair, a flying online online game distant or an aggressive child with a toy truck can tear the drywall paper face. A coat of paint or joint compound over torn paper will create a fuzzy texture. Then seal the uncovered drywall with a stain-blocking primer. This maintains the drywall from absorbing moisture from the soon-to-be-applied joint compound. Wait for the primer to dry, then sand the uncovered drywall edges to eliminate paper nubs. Cover the gouge with a skinny layer of joint compound, feathering it out alongside the wall.
If necessary, apply a second coat, feathering it as well, then anticipate it to dry and sand it smooth. Painting isn't a simple job and in some cases householders and DIY lovers might be tempted to hurry with the aid of it which might lead on to many blunders within the end. Use of poor portray techniques reminiscent of making use of very skinny layers of paint or not making use of the appropriate brushes will make the paint to not stick accurately to the surface. Prior to painting, there are a lot of preliminary duties to finish like choosing a color, finish, and portray tool. One crucial activity that always will get missed is getting ready the floor earlier than portray it.
This is important for a clear paint job with no hiccups. This will aid be certain that the paint adheres to the floor appropriately and appears at the means it really is meant to ultimately as soon as it dries. Poor preparation is a standard offender in why paint cracks, chips, peels, and bubbles. Before painting, invariably be certain the floor is clean. This will preclude dirt, mud particles and some different gunk caught to the wall from being sealed endlessly and doubtlessly ruining the aesthetic of your new paint.

Another trick which could make all of the distinction is filling-in dents or holes within the wall. Depending on the surface, you might additionally have to sand it down and use a primer. It is a versatile plaster for interiors and exteriors. It reduces the danger of cracking on drywall and different plasters and significantly improves the impression resistance and sturdiness of drywall construction. Anticrak is important on drywall and on previous plaster restorations.

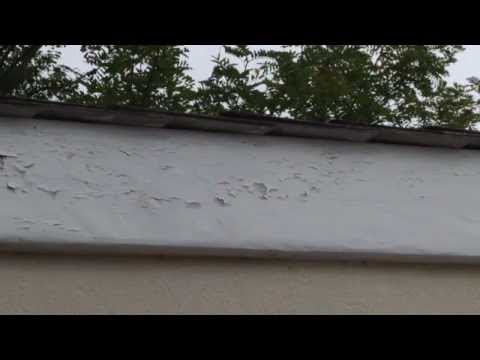
This is the perfect substrate for lime and gypsum plasters. You can use Anticrack additionally to restore structural cracks in partitions earlier than portray or plastering. First, apply a slender fiberglass mesh tape all alongside the crack. Then, repair the mesh to the floor with a layer of Anticrack. Subsequently, when the plaster dries, apply a wider mesh tape over it, fixing it with Anticrack. Peeling paint happens when moisture collects underneath a painted surface.

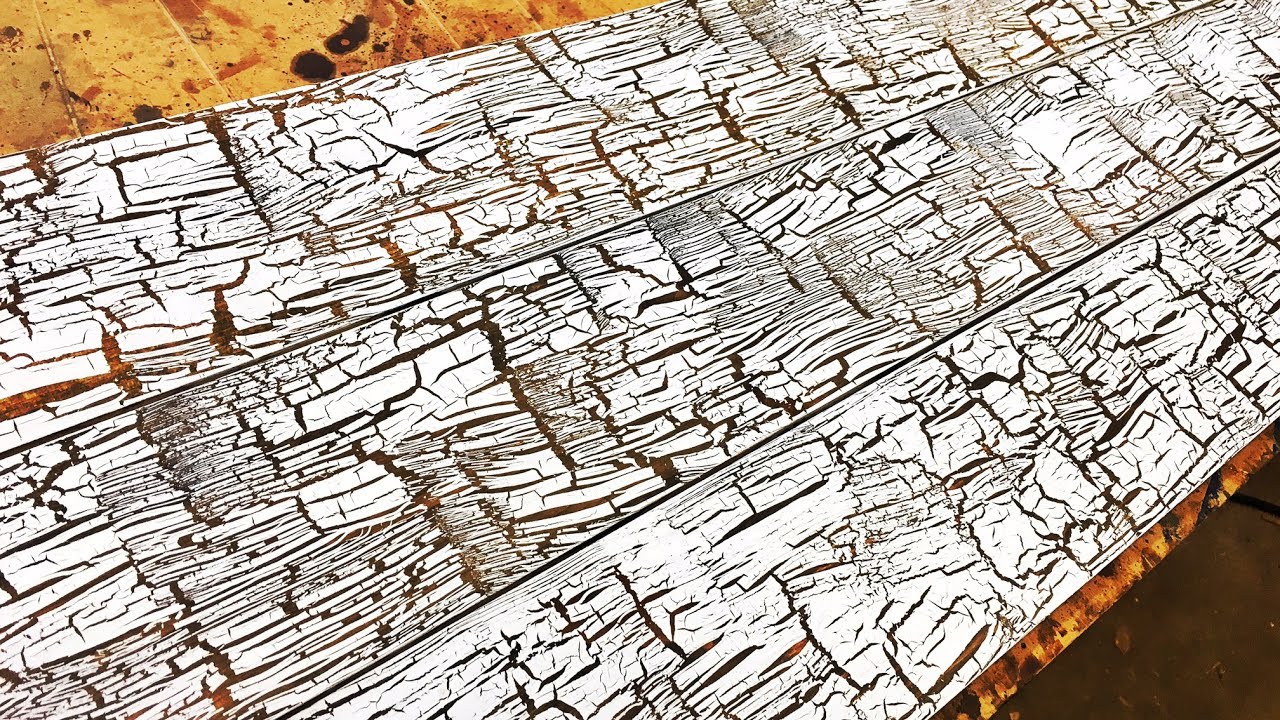
Moisture enters wooden surfaces from the unpainted side, will get absorbed after which dries. This repeated swelling and shrinking of wooden causes the paint to draw back from the surface, which leads to cracking and peeling paint. Locate sources of moisture by checking areas for leakage from gutters or eaves of the house. One of the explanations for cracking or peeling paint is bubbling. After paint bubbles, it has the potential to crack completely.

Bubbling in paint is attributable to the presence of moisture, warmth or both. Before making use of the primary layer of paint, guarantee that the wall is totally dry and cool. If the wall is damp or hot, then the paint cannot adhere correctly. Also, attempt to avert portray in a damp room or climate. If that is unavoidable, take into account portray within the course of a extra favorable time of the yr or utilizing a dehumidifier. Once the peeling paint is removed, you would possibly be left with cracks or holes within the wall.

Apply a patching compound ($6, The Home Depot) with a putty knife as needed; clean and let dry based on the manufacturer's directions. Using a scraper, wire brush, or eighty to 100-grit sandpaper will assist you to take away any roughness from the broken region when patching your repair. If you can't fix the broken region with the unique patch material, take a putty knife and apply a skinny layer of patching material. Brush 220-grit sandpaper on the world of the patch and clean it nicely with out negatively impacting it. Once you get that squared away, get cracking on these cracks!

Protect the ground with a drop cloth, and have a receptacle useful to catch the refuse. Gear up with goggles and a face mask, on the grounds that tiny flakes of paint are certain to go flying. Then—using a putty knife, wire brush, or paint scraper—carefully dispose of all of the chipped or peeling paint from the partitions and ceiling. The commonest causes of latex paint peeling from arduous or slick surfaces is lack of curing time after portray and poor flooring preparation.
Although most high quality latex paints dry very quickly, the hardening or curing course of takes a lot longer, starting from 2 to four weeks. During the curing period, latex paints are very prone to wreck by abrasion or scratching. Over a appropriately well prepared surface, sufficient time for curing is all that's required for a passable job. On some surfaces, distinctive preparation is important or failure of the topcoat can occur.
Use of inferior excessive high quality paint will end in poor flexibility and adhesion resulting in cracks and peeling paint in your walls. Low-quality paint generally doesn't stick appropriately to the floor and need to start to crack or peel off inside a brief while after application. For instance, making use of paints containing calcimine or these with excessive solvent ratio, not an exceptional idea. Instead, you must use paints with lots of pigment and resin which can make the paint stick properly. Use of expired paint can additionally be one more reason for hairline cracks in paint because the paint could have developed mould and mildew over time which can break the paint.

Then paint the wall with the product "Moisture Guard primer" or Moisture Guard, water block. This style of answer will aid avert moisture well. Then await the floor to dry for 4-8 hours , adopted by previous plastering primer, strengthen adhesion of latest topcoat paint. You ought to use water formulation which might be much less pungent odor and safer than oil formulas.
When the wall floor is totally dry, then coat with new acrylic paint or shade that the moisture can drain out 2 times. If you have been intending to do one factor concerning the peeling paint in your walls, seize several provides and get started! Lay down a material or tarp to catch any dried paint earlier than you begin. Then, use a putty knife or flat blade to scrape away the peeling paint. Repair the floor by filling holes or cracks, cleansing the surface, and priming it.

Once the world is dry, one can repaint it with a skinny coat of refreshing paint. These small patches of cracked paint could be sanded off utilizing a scraper scraper. Then, take a pointy software and fresh any unfastened paint. It is suggested that you simply use a nice sandpaper, which is spherical 220 grit, earlier than st as you Sand down the world earlier than making use of your primer and paint. Using a scraper or 100-grit sandpaper, eliminate any loose, cracked, or peeling paint from the broken area.
Remove any mud or particles from the world with a water-dampened rag. Blistering is nearly normally brought on by moisture and/or warmth on or within the surface, which has been painted with no being allowed to dry properly. The moisture tries to evaporate however can not escape due to the paint. Once blistered the paint will ultimately crack and peel permitting extra moisture in. To resolve the problem, scrape again the burned paint till you could have a agency edge, feather frivolously with abrasive paper and mud off. Now spot-prime and convey ahead any naked areas with a Primer Sealer, usingDulux Trade Stain Block+on friable surfaces.
Remove all peeling paint and sand tough edges smooth. Prime with proper primer and recoat with a top excessive quality paint. Remove all unfastened peeling paint and sand tough edges smooth.

Prime with correct primer and recoat with good-quality paint. Paint will not bond properly to wooden uncovered by sanding. Before you paint, you should use a high-quality paint primer, like True Value EasyCare Ultra Premium Exterior Primer/Sealer. This seals porous floor materials so your topcoat will not soak in and dry unevenly.

Priming additionally helps stop peeling, rusting and bleed-through . Apply with a brush, curler or spray applicator to all naked wood. Allow it to dry fully earlier than shifting on to the subsequent step. Remove all peeling and flaking paint employing a paint scraper. Cover the bottom with drop cloths to catch paint chips, dirt and debris. You can lease or purchase a disc sander with 60-, 80- and 120-grit sanding discs.

For very constrained areas, use a random-orbit sander, hand sander or disc sander drill attachment. Begin sanding with a rough abrasive and end with a exceptional one. Pay explicit consideration to smoothing the sides between painted and scraped areas.

How To Fix Chipped Paint Before Painting Painting will accentuate, not hide, any ridges and edges you leave. It is crucial that you just fresh and seal the dry, cracked wooden in your home's exterior earlier than you paint it, to evade pricey repairs later. Apply a prime quality, stain blocking primer to be certain sturdy paint adhesion. Follow with two coats of 100-percent acrylic, exterior paint to be certain knowledgeable finish.
A time-honored rationale for cracking paint is an error being made through the portray process. Using the right quantity of paint is essential for the end result of the project. If an excessive quantity of or too little paint is applied, then cracking can ensue comfortably and rapidly which might be very frustrating. The surest method to stay clear of this is often just to color thin, even layers till you see the specified end result you have been searching for.

This means you'll normally add paint as wanted and end whenever you are feeling it's sufficient to keep away from applying too much. When layering paint, it's important to let the primary layer dry utterly earlier than including the subsequent layer. If you add one different coat of paint with no the prior one drying, then issues might look fairly messy and cracking will possible occur. In case of of deep or very extensive cracks, you might must extract the wall through the use of an previous paint scraper spherical all of the cracks first. Then use the fabric to crack, inject, fill in, commence from the purpose of the most important crack first, after which progressively transfer to a small spot, leaving to dry.
When dry, sand the surplus sandpaper and paint with primer for previous plaster. Then painted once more The portray of the brand new wall will make the cracked strains look smoother as if not at all had such cracks before. The first step in repairing your rest room partitions and ceiling is eradicating the chipped spots.


No comments:
Post a Comment
Note: Only a member of this blog may post a comment.